Network Optix
Introduction
This manual provides an overview of Scylla integration with Network Optix (VMS) .
This integration adds additional functionality to Network Optix Video Management System to support Scylla AI Modules.
Scylla has two-way full integration with Network Optix VMS which means that it takes input from Network Optix Server and reports back to Network Optix witness client.
Scylla Dashboard Configuration
Open the Scylla Asteria or Scylla On-Premise Dashboard.
Go to Account menu -> Settings
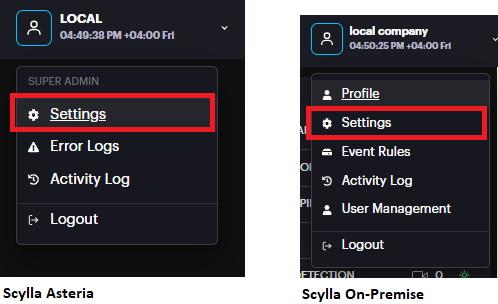
Now navigate to Integrations menu
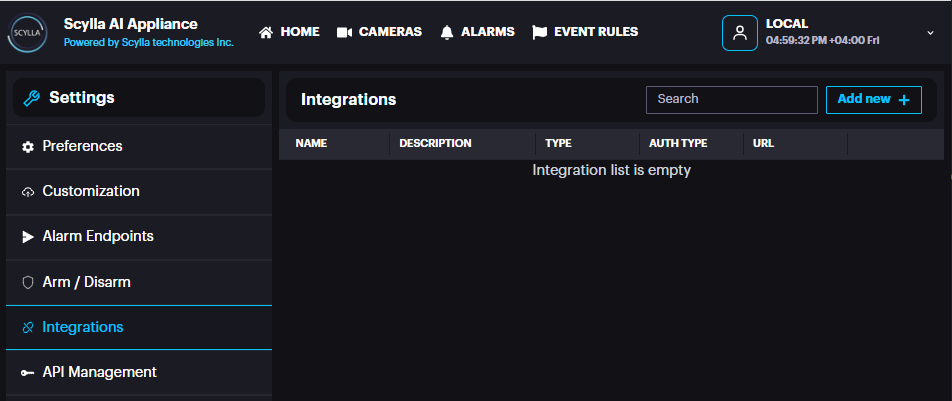
Click Add new +

Name: name the integration
Type: Select Network Optix from the list
Description: Add a description if needed
Server IP/Hostname: IP address of the Network Optix Witness Server (https://ipaddress)
Port: 7001 (NX Witness Server port)
Auth Type: Basic or Bearer (select Basic)
Username: NX witness user (with administrator role) username
Password: NX Witness user (with administrator role) password
Click test to test the connection, if successfully connected then a message will be displayed.

Click Save.
Automatically create alarm endpoint: If enabled, an alarm endpoint will be automatically created in the settings-> alarm endpoints
Importing Cameras from VMS
Scylla Asteria
Go to Cameras page and click add new +

Select Import From VMS

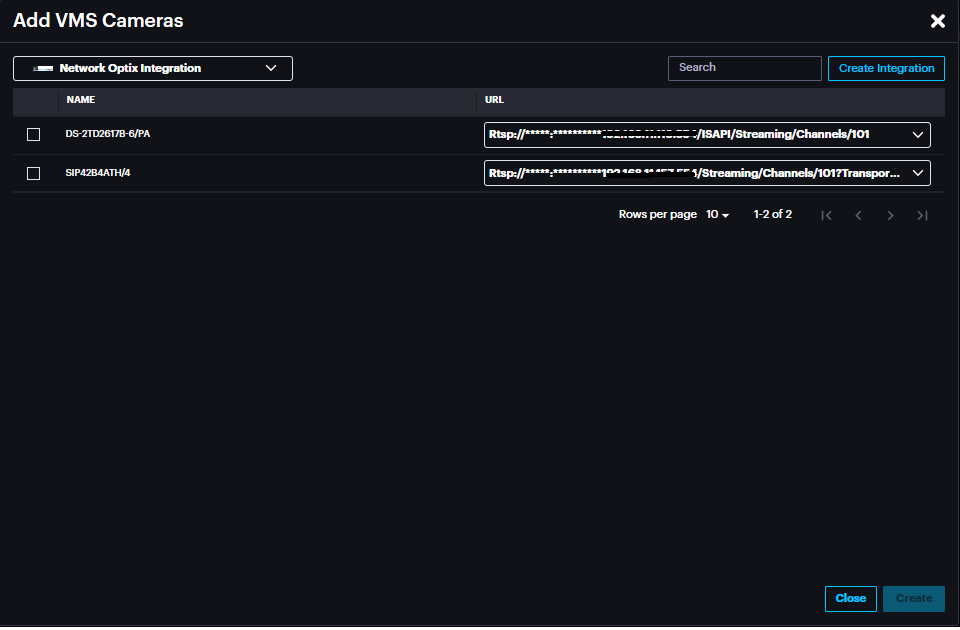
Select the Integration created previously from the drop-down menu.
Cameras from Network Optix server will appear in this window, enabling the cameras to be imported to Scylla Asteria.
Click Create
The imported camera(s) will be shown on the Cameras page.

Scylla On-Premise
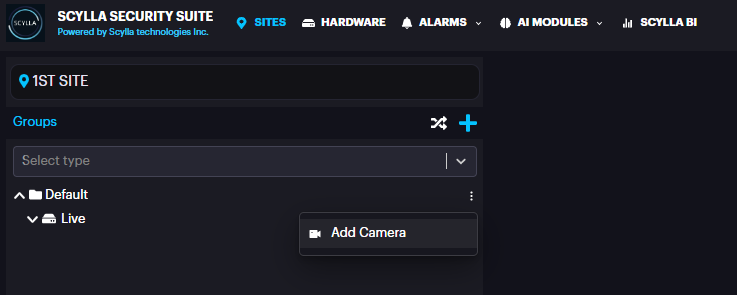
Go to Sites page, select a site -> Properties -> Manage Devices

Click the three dots near the Group (Default) -> Add Camera
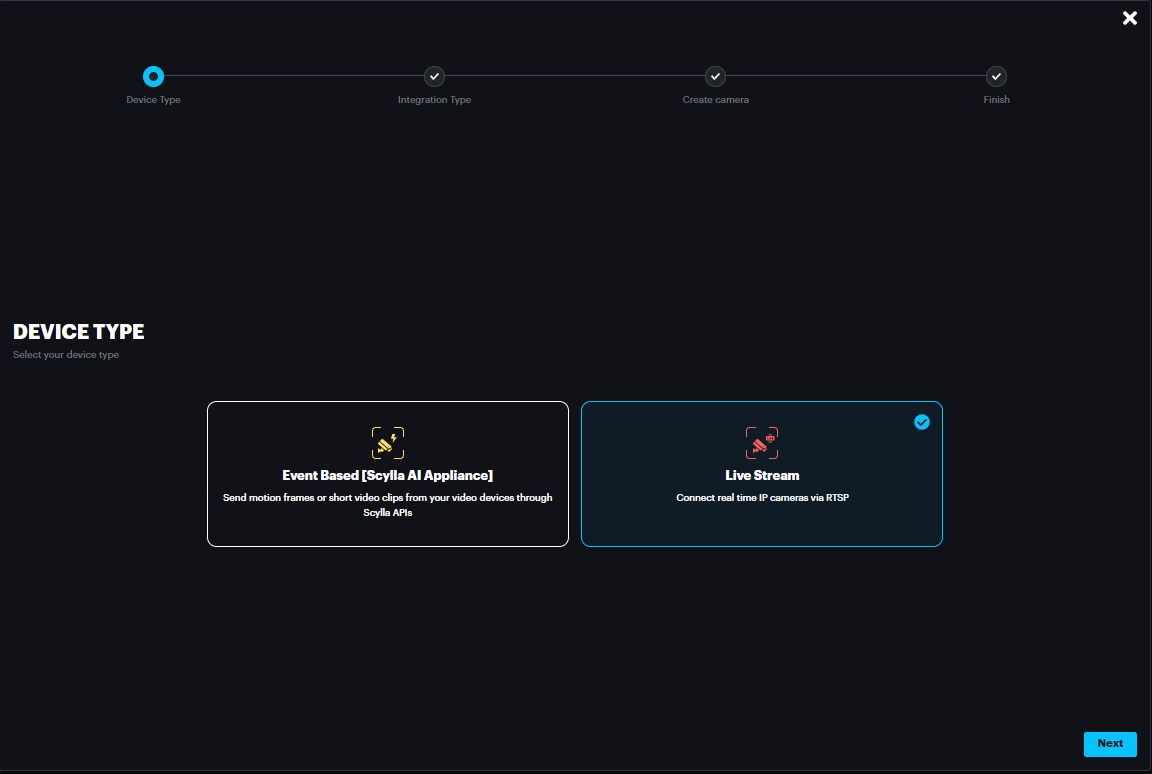
Select Live Stream and click Next
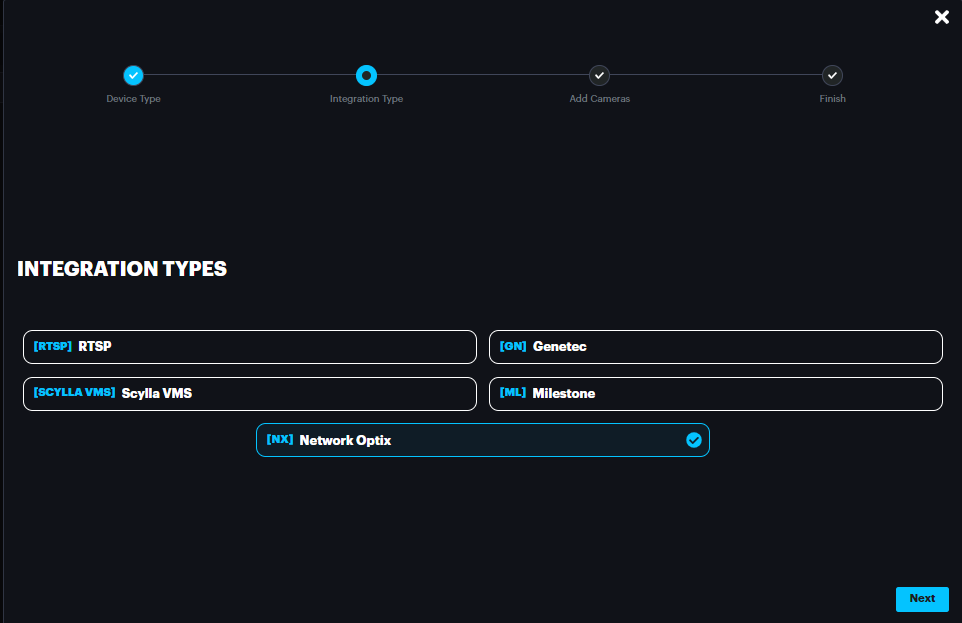
Select Network Optix and click Next
Select the integration from the drop-down menu and the cameras on NX Witness server will appear
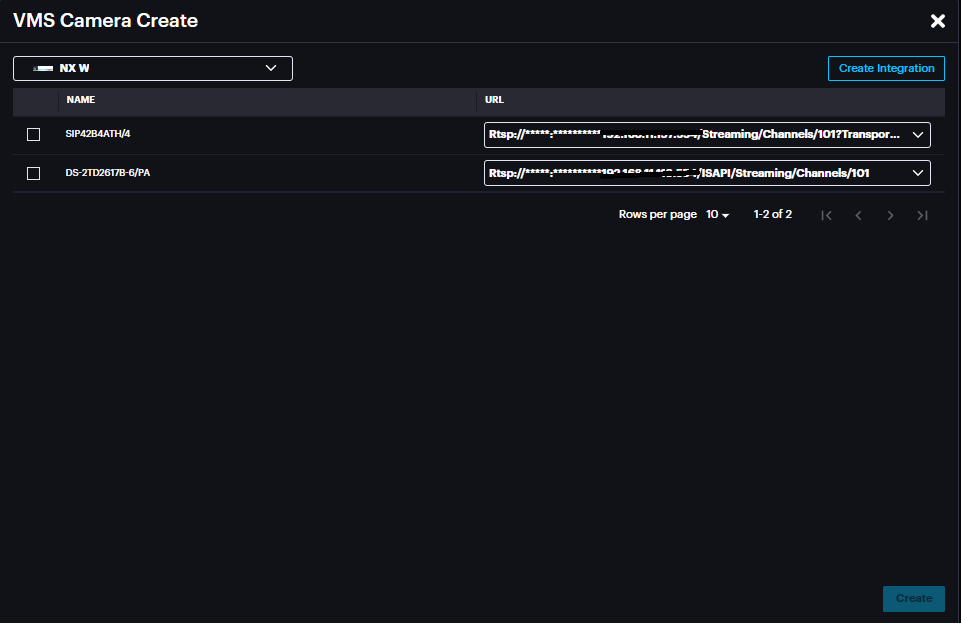
Enable the cameras that will be imported to Scylla on-premise server.
Click Create & Continue
The imported camera(s) will appear under the group

Once deployed, the alarms will appear on Scylla Dashboard and NX Witness client
(alarm endpoint & event rule should be already configured on Scylla dashboard and Generic Event rule should be created in NX Witness Client as mentioned later in the document).
Configuring Event Rules
Event rules are created to link the events, schedules and actions.
Scylla Asteria
Go to EVENT RULES page click Add

Name the event rule, select the event type (default is All event type), Select the camera(s) whose event will trigger the action (default is All cameras), select schedule (select the default 24/7 from drop down menu or create new schedule by clicking create schedule) .
In the action select HTTP Endpoint and for HTTP Endpoint select NETWORK_OPTIX.
Click Save.
Now click Apply configuration on top.
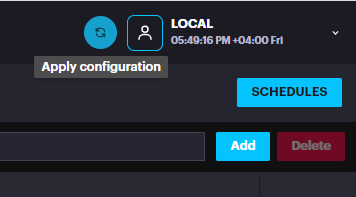
Now Scylla Asteria is ready to send the alarm to NX Witness Client from camera(s) that are configured in the Event Rule.
Scylla On-Premise
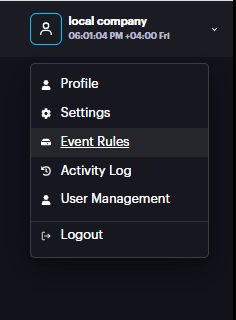
Go to Account Menu -> Event rules
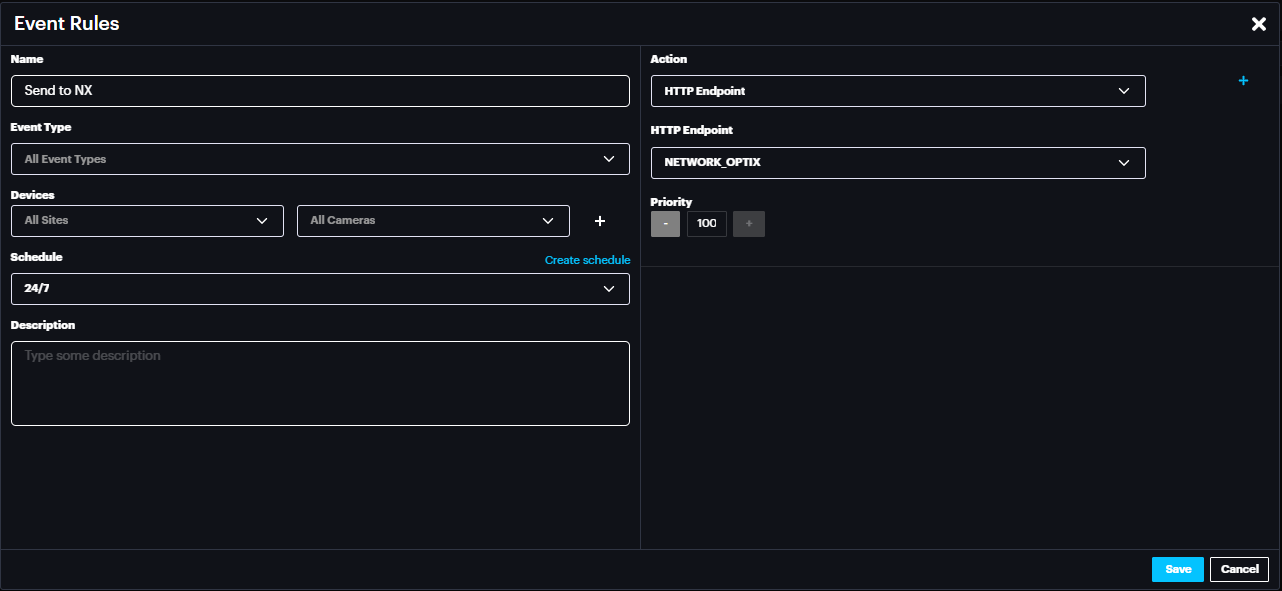
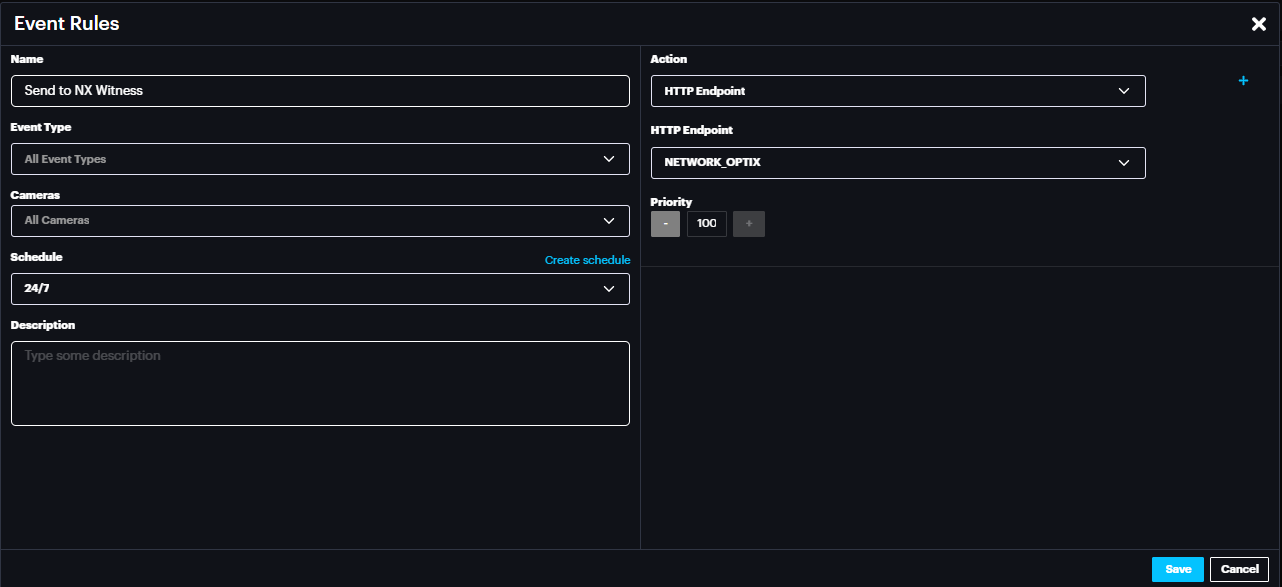
Name the event rule, select the event type (default is All event type), Select the Site and camera(s) whose event will trigger the action (default is All Sites & All cameras), select schedule (select the default 24/7 from drop down menu or create new schedule by clicking create schedule).
In the action select HTTP Endpoint and for HTTP Endpoint select NETWORK_OPTIX.
Click Save.
Now Scylla On-Premise is ready to send the alarm to NX Witness Client from camera(s) that are configured in the Event Rule.
Scylla Plugin Installation
Note: Scylla plugin must be installed on the same machine where NX VMS server is installed.
To set up the Scylla Plugin do the following:
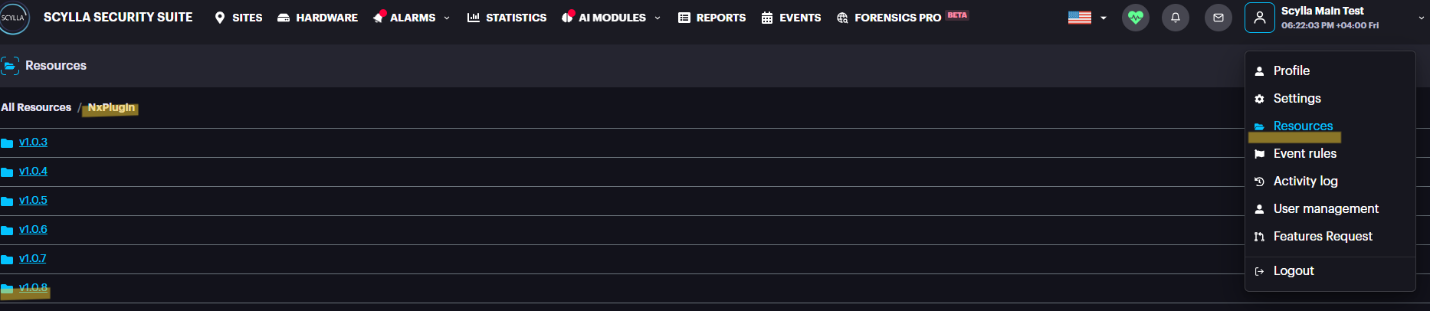
Open the Scylla Cloud Dashboard -> navigate to the Resources tab and double-click on NX-Plugin

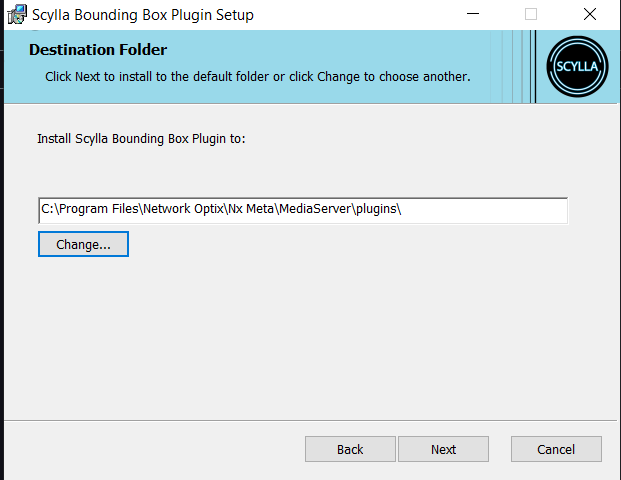
Specify the installation path. For example, C:\Program Files\Network Optix\Nx Witness\MediaServer\plugins\ Please Note, based on the version of NX, you need to apply inside the path your NX version (Witness/Meta)
C:\Program Files\Network Optix\Nx Meta\MediaServer\plugins\
OR
C:\Program Files\Network Optix\Nx Witness\MediaServer\plugins\
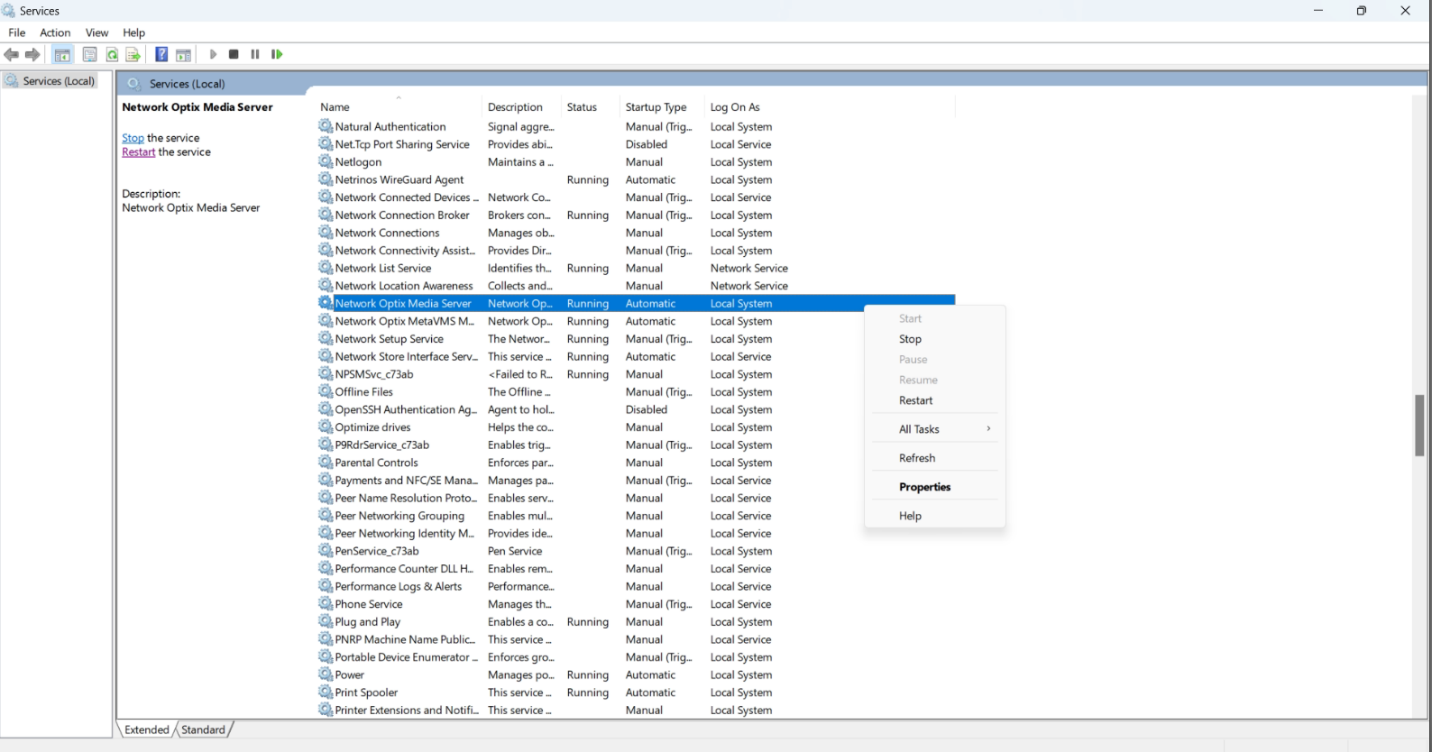
After the installation of the plugin, please navigate to Services , find the running service Network Optix Media Server, right click on it and Restart the service
Network Optix Configuration
After restarting the service, launch Network Optix VMS. From the Main Menu, expand the servers tab.
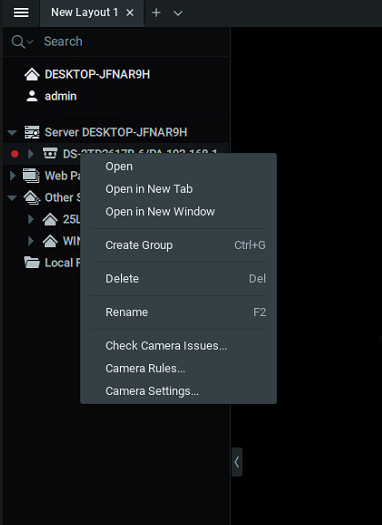
Right-click on the camera, and choose Camera Settings
From the Camera Settings, please click on the Plugins tab
You will see the Scylla Plugin. Double-click on the plugin and enable Scylla .

Repeat this for all the cameras that are integrated with Scylla AI.
Event Rule
To display alarms received from Scylla in the notification window, an event rule must be created.
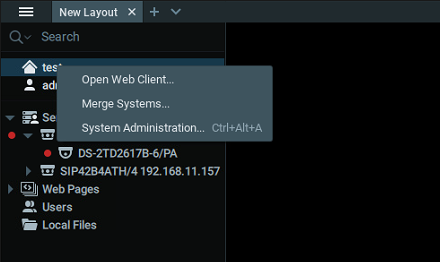
System name -> System Administration
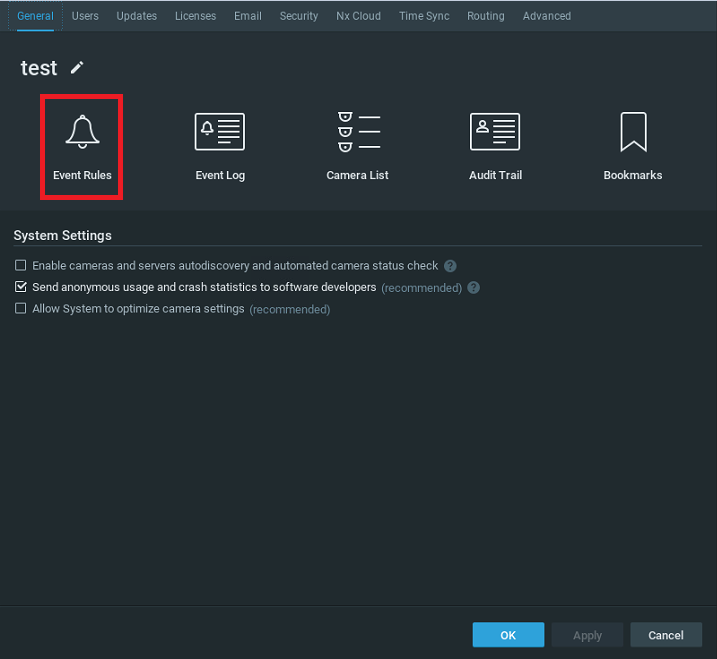
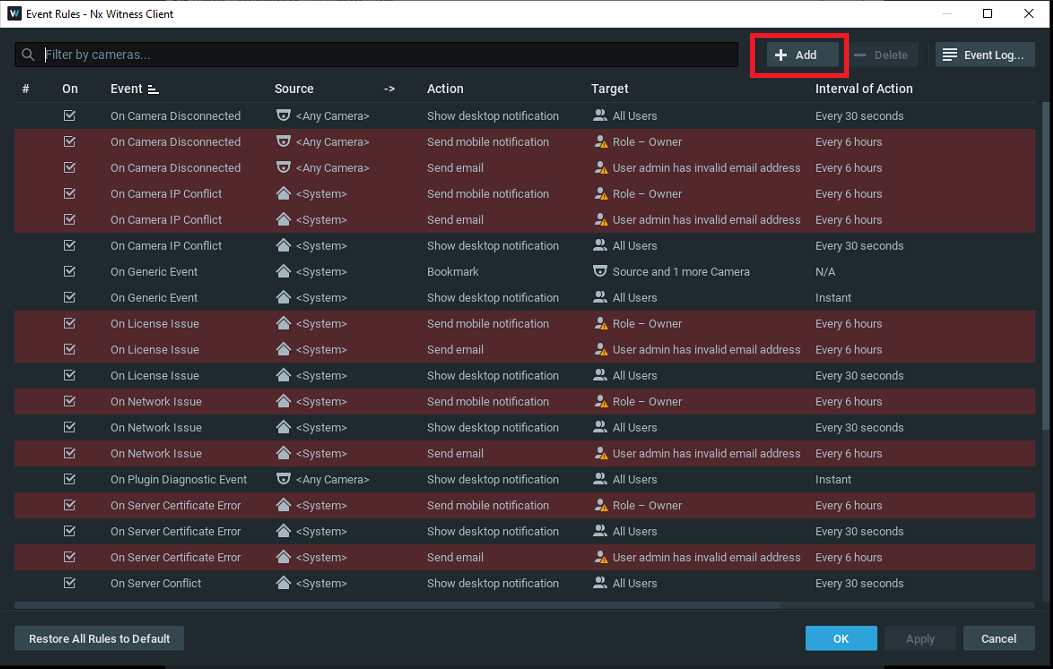
Click Event Rules
Click +Add button to add a new event rule.
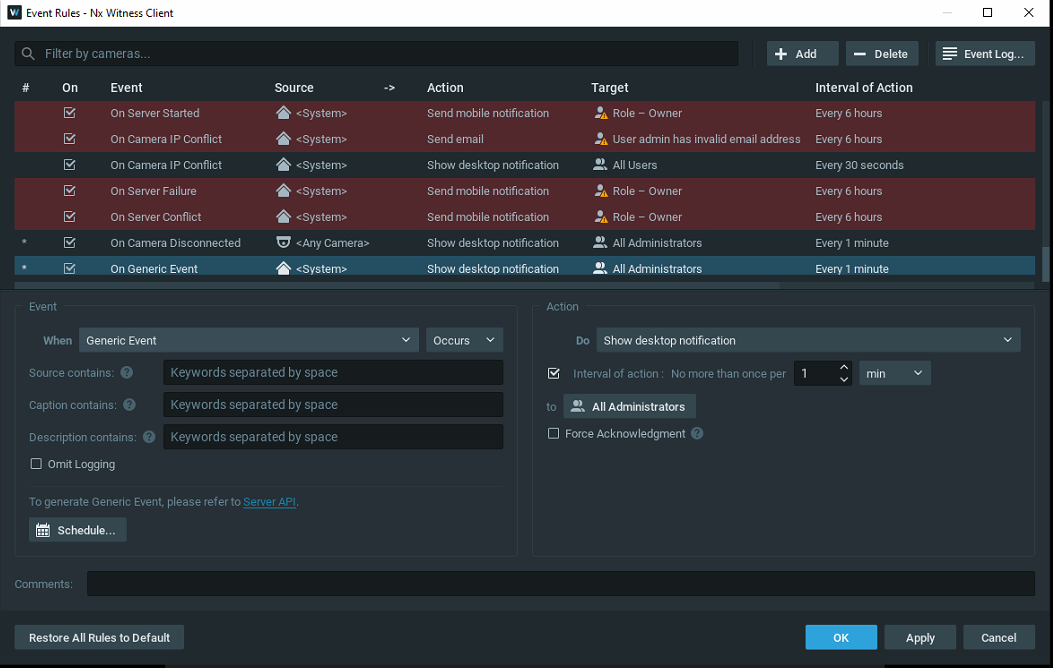
In the Event section, select When Generic Event.
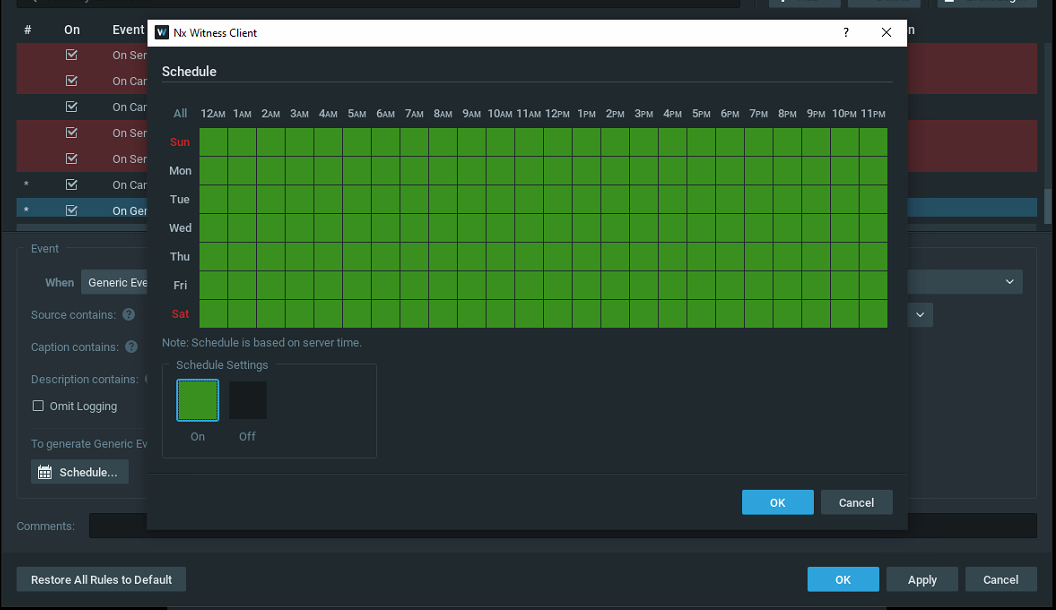
Now click on the Schedule button to configure when this rule will be active.Click OK.
In the Action section, select Do Show Desktop notification to display the alarms in the notification tab .
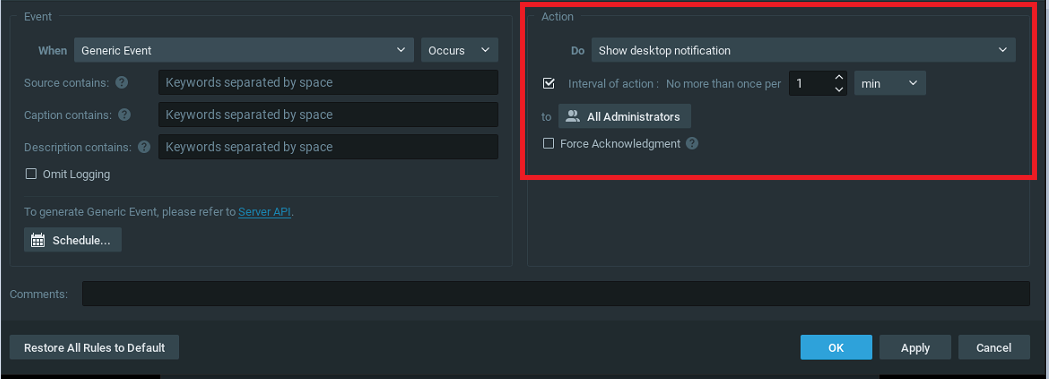
If Force Acknowledgment is enabled, the alarm will stay in the notification window until acknowledged.
Click OK.
Alarms in Network Optix
On the NX VMS main page it is possible to view tha alarms in both Objects & Notification tabs.
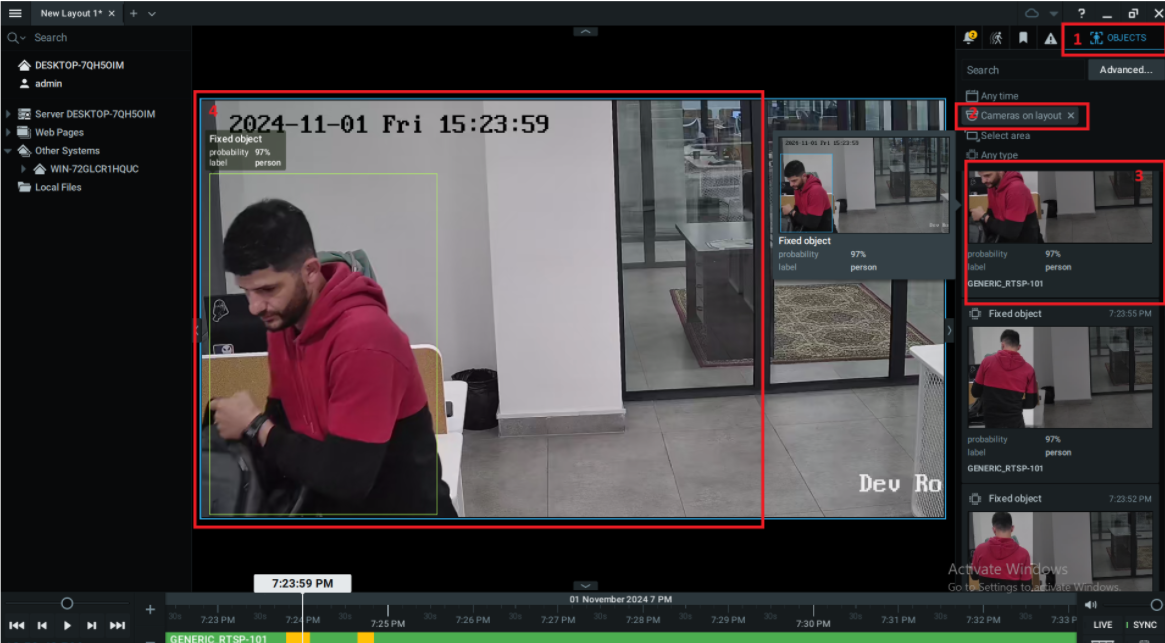
- Go to Objects.
- Select the desired camera(s).
- Hover over a specific alarm to review its details , double click to view the alarm.
- View the alarm recording (Recording for camera channels must be enabled in NX VMS ) Go to Objects.
Select the desired camera(s).
Hover over a specific alarm to review its details , double click to view the alarm.
View the alarm recording (Recording for camera channels must be enabled in NX VMS )
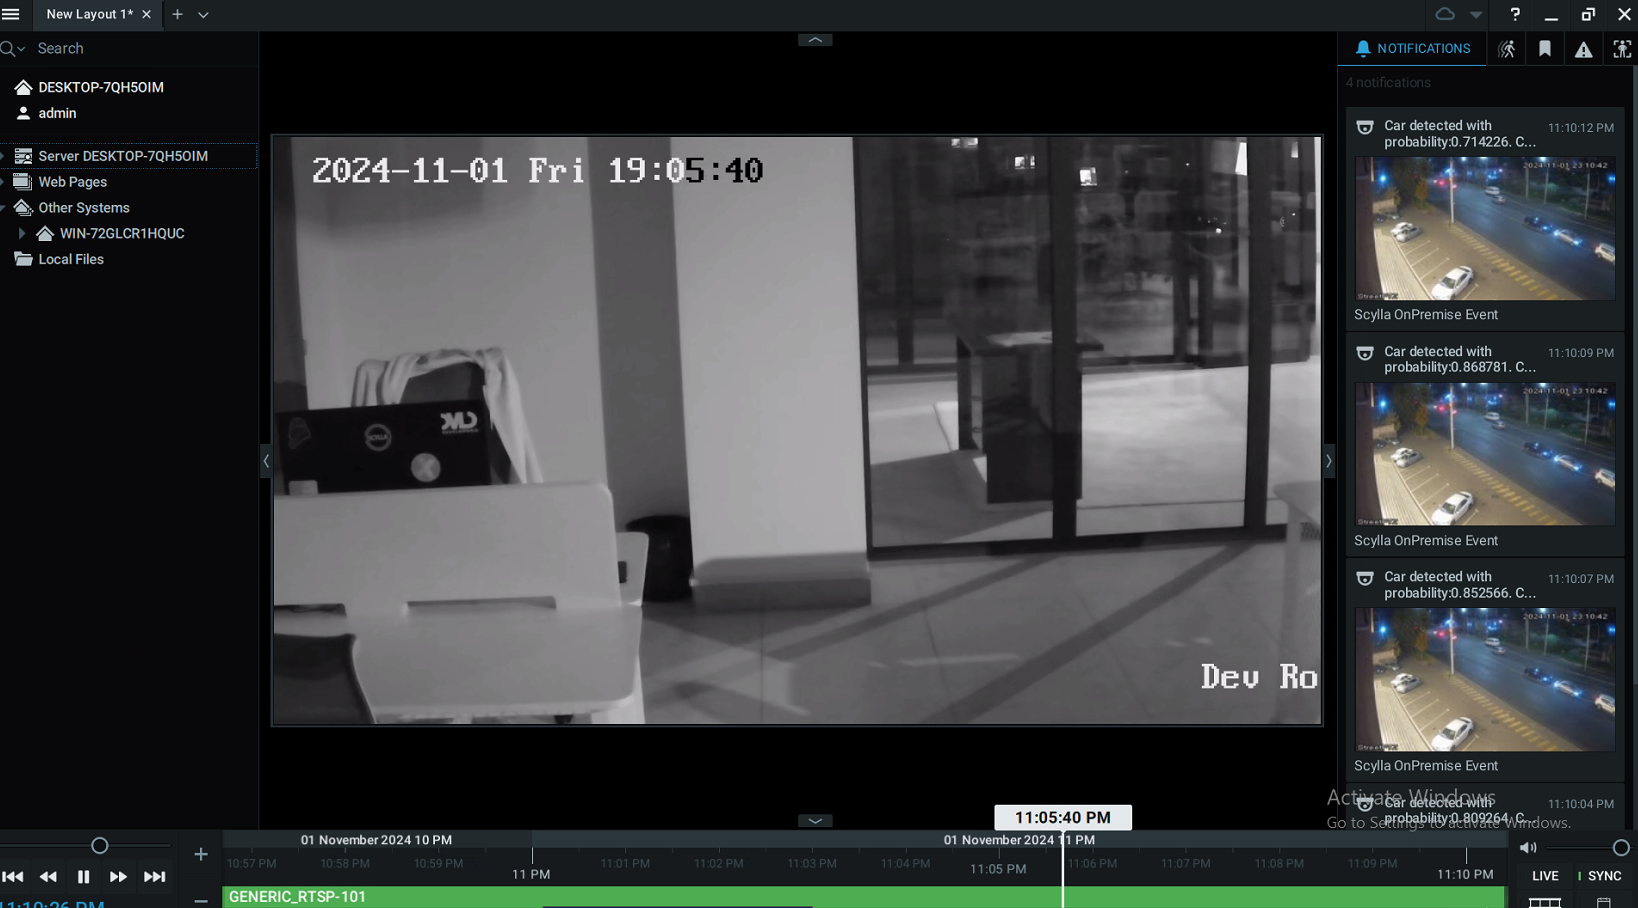
Additionally, the alarms will be displayed in the Notification window.
We value and appreciate your feedback. If you have any questions or suggestions, please contact support@scylla.ai or submit a request to the Scylla Help Center at https://support.scylla.ai/portal/en/home.